GUIDE · 3 MIN READ
How to change eye color in a photo
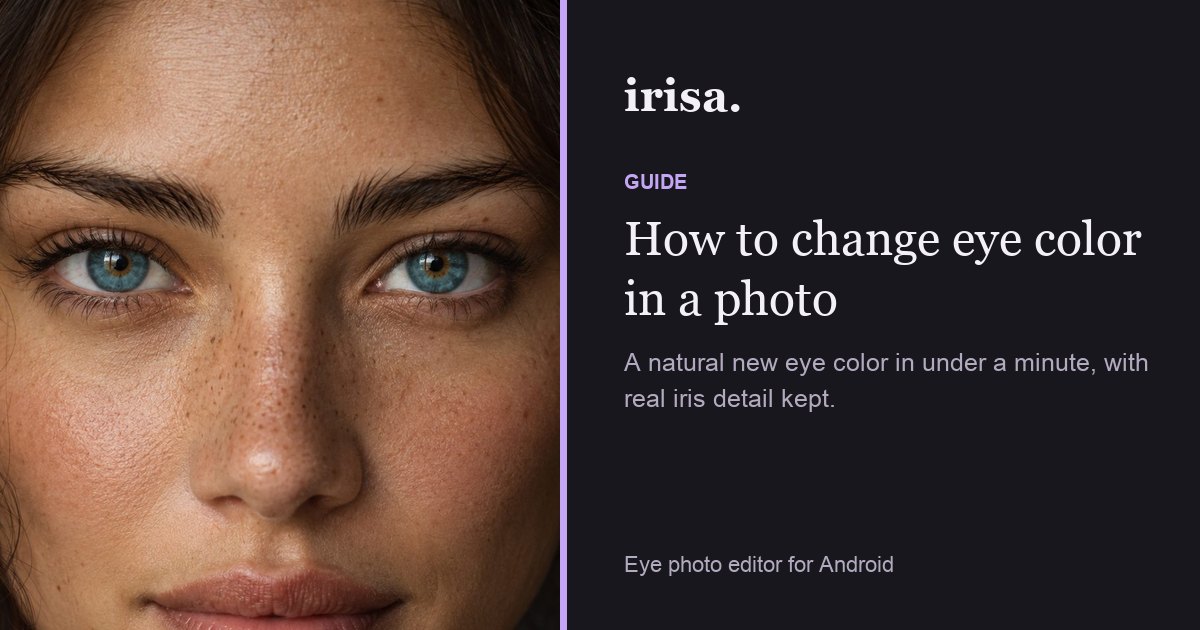
A believable eye color change keeps the texture of your own iris: the fibers, the dark outer ring and the light reflections. Here’s how to get that result with Irisa on your Android phone.
Step by step
- Choose a clear portrait.
On Home, tap Choose a photo and pick a picture where your eyes are open, in focus and evenly lit. Front-facing photos work best.
- Let Irisa find your eyes.
The AI eye editor detects each iris automatically. If a circle sits slightly off, drag it into place or resize it with manual positioning.
- Pick a shade or lens.
Start with a natural shade such as Ocean blue, Forest green or Honey hazel, or try a textured lens pattern for extra detail.
- Tune it to look real.
Lower the intensity until the color blends with your iris, keep the pupil clear and adjust the outer ring so it frames the color.
- Compare, then save.
Press and hold to view the original, then save as JPEG or PNG, or keep a draft to finish later.
Tips
- Lighter shades look most natural on light eyes; on dark brown eyes, choose warmer hazels and amber or raise the intensity a little.
- Zoom in to check the edge of the iris near your eyelids before saving.
- Changing only one eye? Switch the other eye off, or use the heterochromia editor.
Preview the eye color changer in your browser, then do it on your own photo in Irisa.
Questions
Will it look fake?
It is designed not to: Irisa’s lenses follow the brightness of your own iris, so detail and reflections stay. Keep the intensity moderate for the most natural result.
Can I do this on a live camera?
Yes. Use Live try-on from Home to preview shades on your camera before taking a photo.
Is it free?
Yes. Saving asks for one short video and adds a small Irisa mark that another video removes; Irisa Pro saves without either.