GUIDE · 4 MIN READ
Natural eye color edits: 7 tips
The difference between an obvious filter and a believable edit is in the details. These seven tips work with Irisa and with any careful eye color edit.
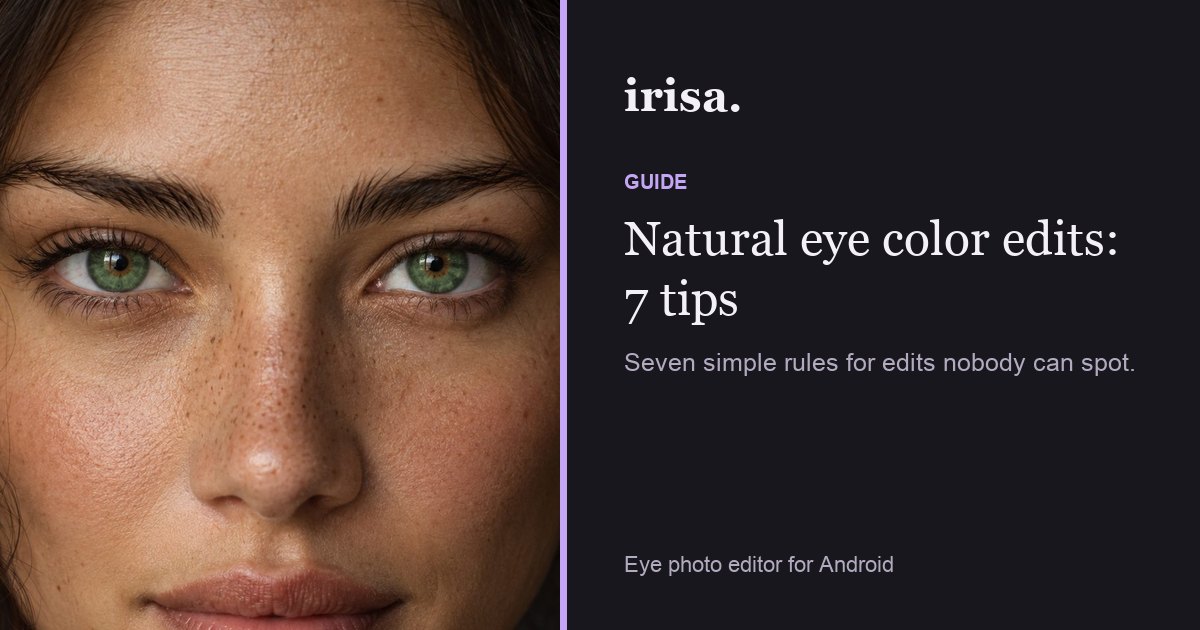
Step by step
- Start with good light.
Soft, even daylight shows iris texture; harsh flash flattens it and adds red-eye. Fix red-eye first with Eye retouch if needed.
- Choose a shade near your own.
One step away, such as brown to hazel or blue to grey-blue, looks the most real.
- Keep intensity moderate.
Around half to two-thirds intensity usually blends best. Push higher only for fantasy looks.
- Protect the pupil.
A clear, dark pupil is what makes eyes look alive. Use pupil clearance so color never spills into it.
- Keep the outer ring.
The dark limbal ring around the iris frames the color. Leave it visible or strengthen it slightly.
- Respect the lids.
Real irises are partly hidden by the eyelids. Check the top and bottom edges at full zoom.
- Compare before saving.
Press and hold to view the original; if the change jumps out, lower the intensity.
Tips
- Match both eyes unless you want heterochromia on purpose.
- Catchlights, the small white reflections, should stay bright.
Preview the eye color changer in your browser, then do it on your own photo in Irisa.
Questions
Which colors look most natural?
Hazel, grey, soft green and warm brown look natural on most people. Vivid violet or ice blue read as stylized.
Can I edit eye color on dark eyes?
Yes. Choose warmer or brighter shades and slightly higher intensity, since dark irises carry less color.